Showing posts with label Valentine's Day. Show all posts

Thursday, February 2, 2012

Thursday Tutorial

Hey Peeps.  Lots of creative juices flowing these days although I can't share everything with you yet.  In the meantime I thought I'd post a past tutorial I did for SNR magazine.  Its another ATC, but I encourage you to see how the techniques involved could be used on projects you like to do.

Two Hearts ATC Tutorial
 
Two Hearts by Scarlett Salamone Supplies Patterned Paper: Little Yellow Bicycle, Bo Bunny; Brads: The Paper Studio; Gel medium: Liquitex; Tar Gel: Golden; Paint: Jacquard; Other: Confetti, mesh, ticket, cardboard  

Supplies:  Cardboard, Gel Medium, Tar Gel, Brads, Fabric, Netting, Paint, Patterned Paper, Confetti

Step One: Adhere patterned papers to cardboard using gel medium or adhesive of your choice.

Step Two: Mix confetti with some gel medium and spread onto base.

Step Three: Cut out two hearts from fabric and two from netting.  Stitch together.

Step Four: Crinkle up a ticket and add paint to the edges/wrinkles using your fingertips.
Step Five: Adhere tickets and hearts to base using gel medium.

Step Six: use a wire cutting tool to snip the backs off the key and lock brads and adhere to base using gel medium.  You could surely keep the backs of the brads on, but this is my little trick to not have a hole poking through the back of my project.

Step Seven: To finish off the ATC, mix tar gel (not shown) and paint together and spread generously around the edges by scrapping the mixture off a brush onto the edge.

Here's the finished project one more time:

If you have any questions just holla' and I'll help the best I can.

Until next time, take care.


Monday, January 23, 2012

Valentine ATC Tutorial

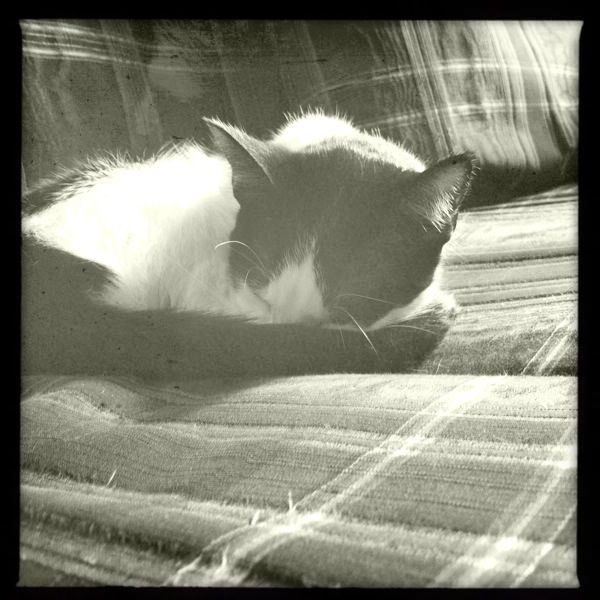
Hey Friends, Happy Monday to you!  Its been rather busy around my homestead these days.  Nothing exciting, just lots of chores around the kennel now that Winter finally arrived in WI.  Not that I'm pleased with that at all, but hey it is WI.  I also took a slight break due to a nasty burn on my inner arm.  Our cats:

Culprit #1


Culprit #2


They look sweet enough during the daytime, huh?  All curled up snoozin'. But lemme tell ya' by night its a whole nother story.  They love to romp, play, and chase each other - Okay, no biggie.  They love to find little snibbles of stuff in my space and bat it around - Eh, not as okay but I guess.  They often knock completed projects I've got on a drying rack down and each project somehow makes it behind our pellet burner - TOTALLY not happy about this at all.  So it was on one of my ventures behind the ol' pellet burner that I nailed my arm ever so quickly on the back pipe. Not cool.  Pain, swelling, and redness instantly.  Blisters came very quickly after that.  My story does end happily as I'm just fine thanks to some good tips from friends, but I'm still ticked off at the cats, LOL!

Alrighty moving right along to the tut!  This is what I'm going to show you how to make:


The supplies you need are as follows: 


Cardboard, mini buttons, chipboard and metal numbers, glitter (two different types if you have it), glass beads (regular beads would work fine too), paint, coarse pumice gel (any texture paste could be used), heart shaped cookie cutter


Step One: Mix pumice gel and paint together.  Spread on cardboard base.


Step Two: Press cookie cutter onto wet pumice gel.  This will serve as a shape holder.


Step Three: Pour glass beads inside of cookie cutter.  Gently press down to help them stick.  Sprinkle glitter around the outside edges of the cookie cutter.


Step Four: Remove cookie cutter and place mini buttons along the impression to create a heart.  Using tweezers, add the numbers to the middle of the heart.  Sprinkle extra glass beads on any bare areas.
There you have a quick and easy Valentine ATC, but wait you might be asking yourself what good does this do me?  I don't make ATCs.  Well I challenge you to think about how any of these techniques could transfer to your cards or LOs.  Using pastes and gels to embed things on LOs and cards is just as cool. ;0)
Hope you enjoyed the tutorial and find something useful from it. I originally did this tutorial for Scrapbook News and Review Magazine last year.  I'll be back again soon, until next time -  take care and be blessed and a blessing to others. 


Sunday, January 17, 2010

365 Cards - Day 321

Day 321 - In stitches

You had to stitch around an image for this challenge.

U Make My Heart Flutter:


A bit closer:


Thanks for this challenge.... I really avoid stitching at all costs.... in fact DH won't even let me near the sewing machine!! He handles all those needs around here!! LOL!


365 Cards - Day 317

Day 317 - Crazy Eight - use 8 different colors on your card..... shades of same color do not count

I think I got this one all set, I did have to count twice tho'! LOL!!!

Bananas Over You:


I used the colors: Red, Green, Blue, Pink (the dots on the heart patterned paper are pink.... I know cuttin' it close there....), Brown, Tan, Black, and White

Here's a close up:


Saturday, January 9, 2010

365 Cards - Day 309

Day 309 was Super Sketchy Sunday

Here's my take on the sketch:


And one with the tag out:


The patterned paper is from K&Co, as well as the paisley and flower bellies. The frog stamp was from Michael's and the heart journaling spot is from Stampology. The ribbon is also from Ms.


Thursday, January 7, 2010

365 Cards - Day 305.... just a bit late!

Even though this is being posted late..... I really like what I came up with for this challenge! Again it stretched me out of my comfort zone!!!

Day 305 - Divide and Conquer - The idea was to create 4 equal quadrants on your card.... but of course there was a catch. Each quadrant had to contain a certain thing. The requirements were: 1 stamped sentiment, 1 punched item, 1 floral bellie, and 1 rhinestone..... and you couldn't overlap anything!

Here's my card:


Saturday, January 2, 2010

365 Cards - Day 302

Day 302 - Sketchy Sunday

Here's the sketch:


Super cool one, huh??

Here's my take:


I love the challenge Pam's sketches provide me.... I always have to think out of my card maker box!!! :0) Thanks for the inspiration Pam! :0)